
Google Keep is a note-taking service you can use with your Google account. You can use it to make lists, write down notes, and keep track of your day-to-day thoughts and activities.
Using the Google Keep integration
Creating a note
You can access Keep by clicking here, or by typing keep.google.com into the address bar of your browser. When you open the page, you will see this view:
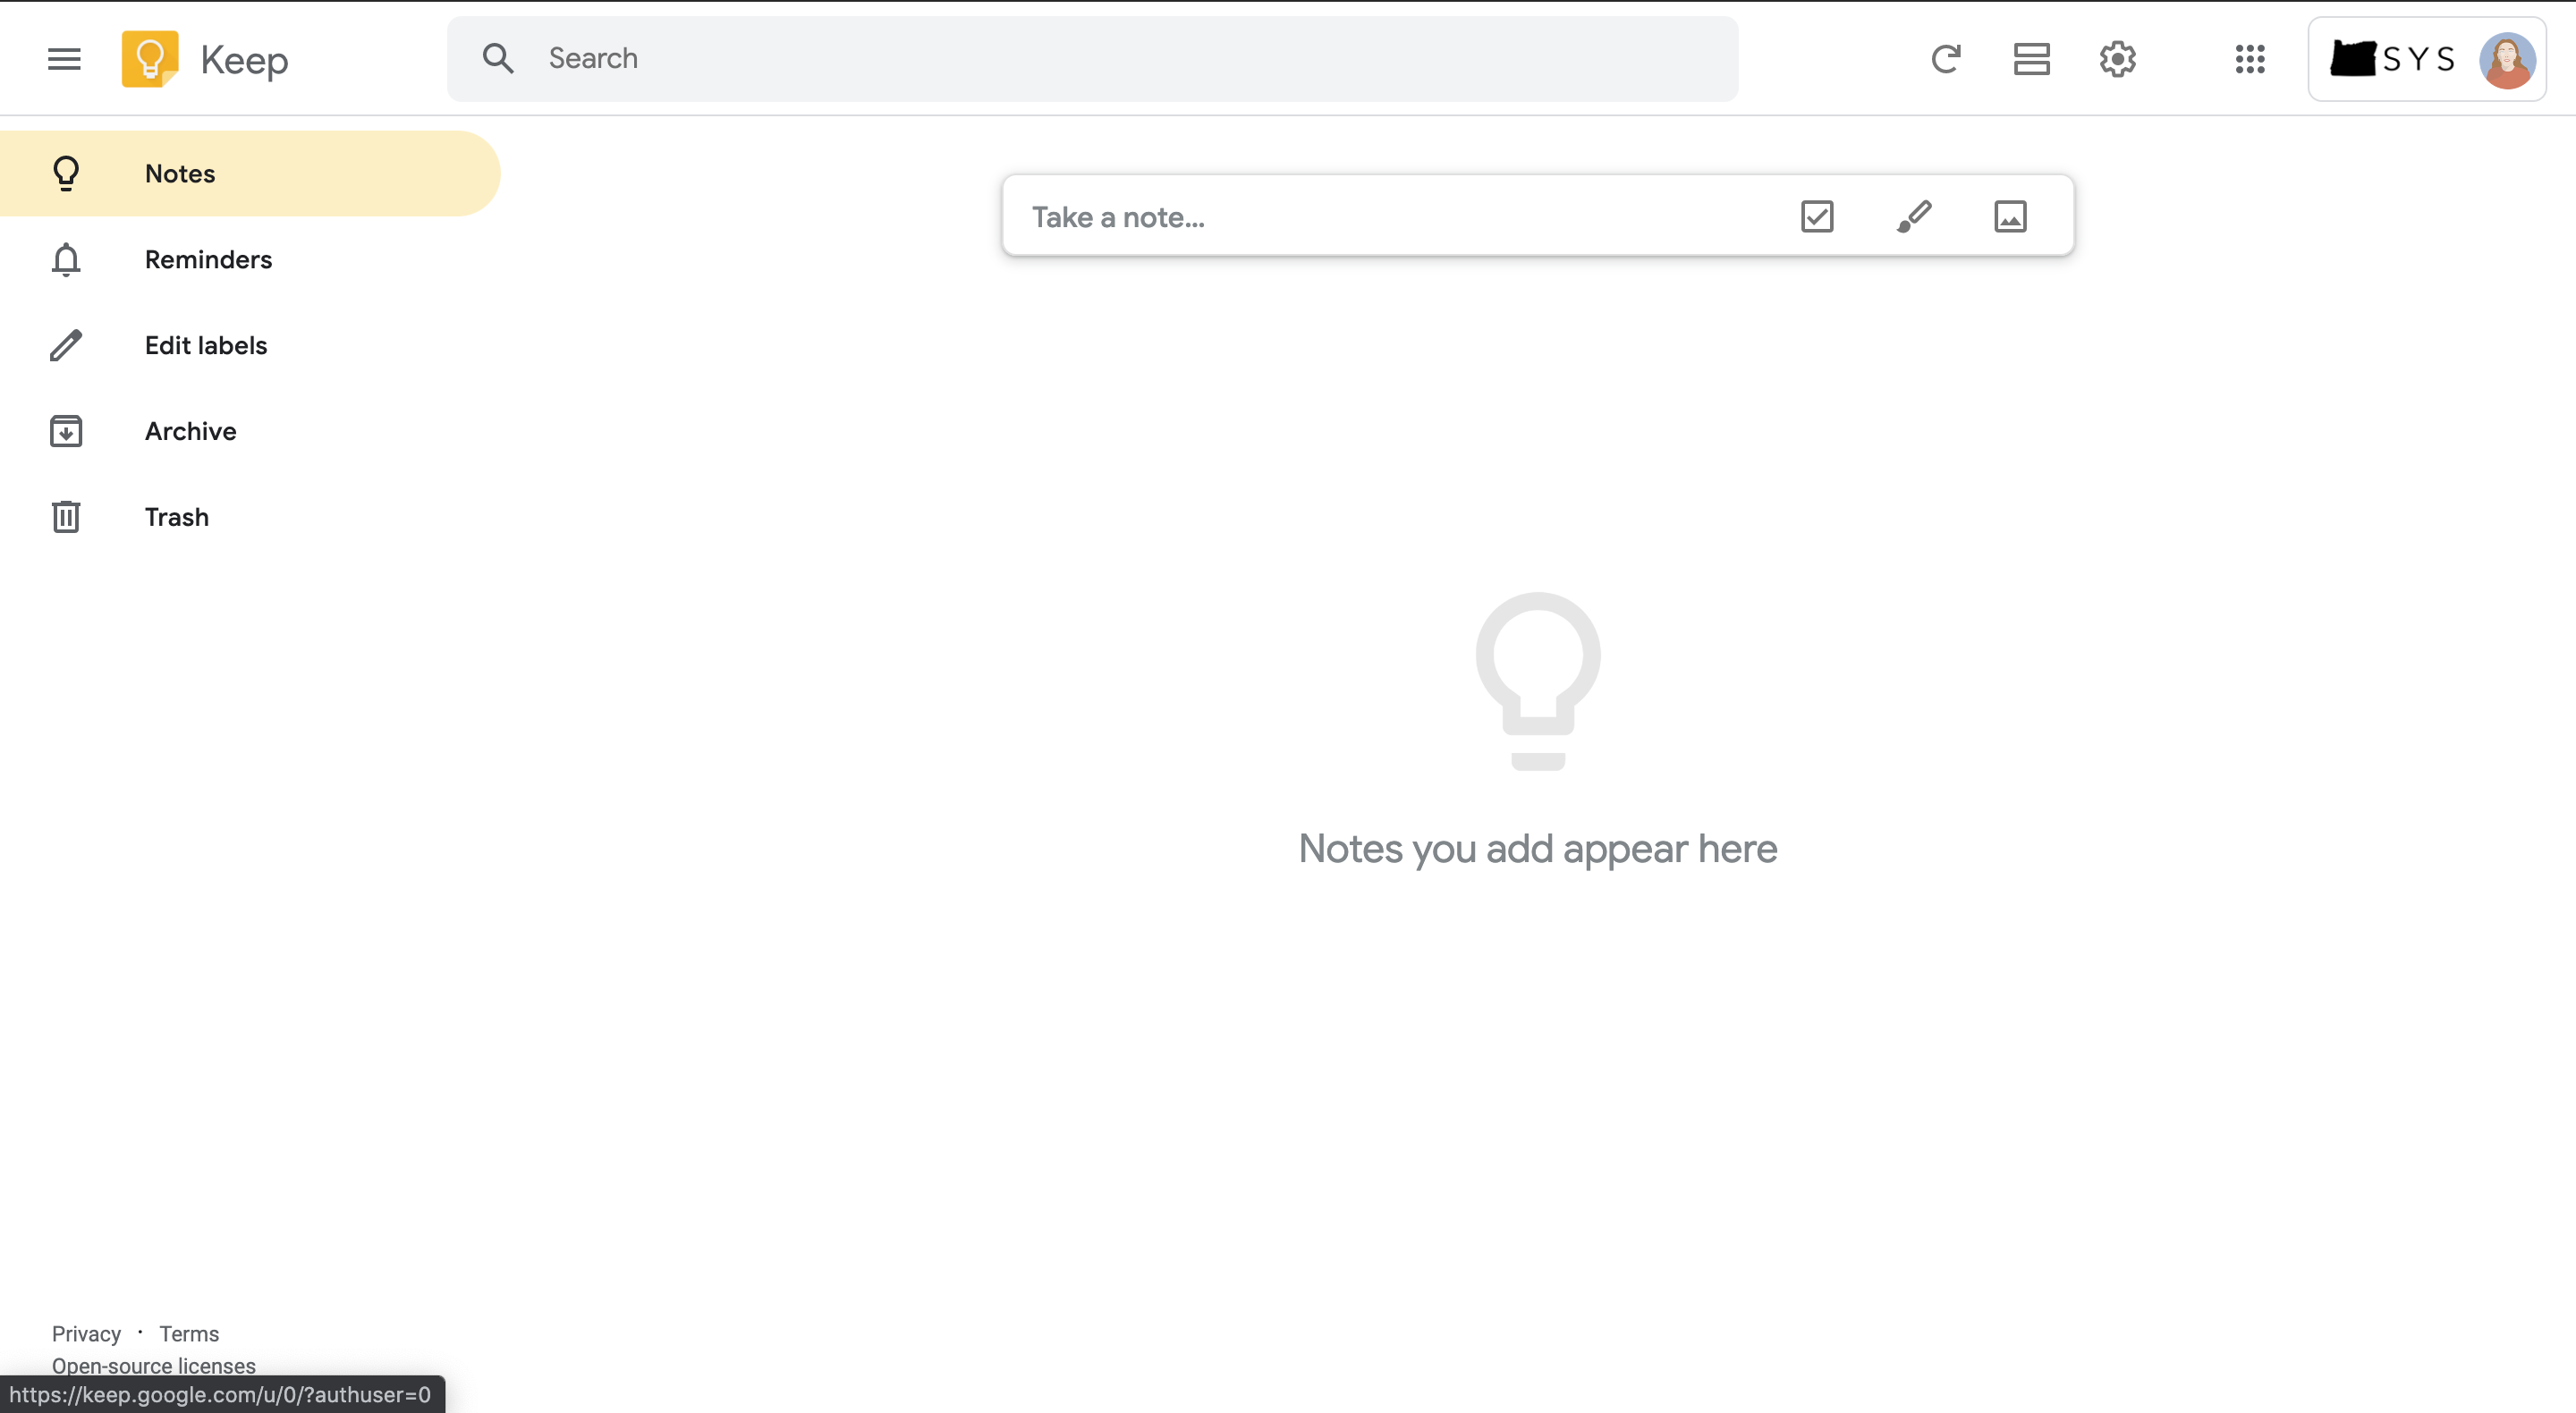
To take your first note, click on the box labelled Take a note and start typing. You can add a title and type in the body. When you’re finished typing, click anywhere outside the note. You can edit your note at any time. Once you’ve created your note, it will appear like this:
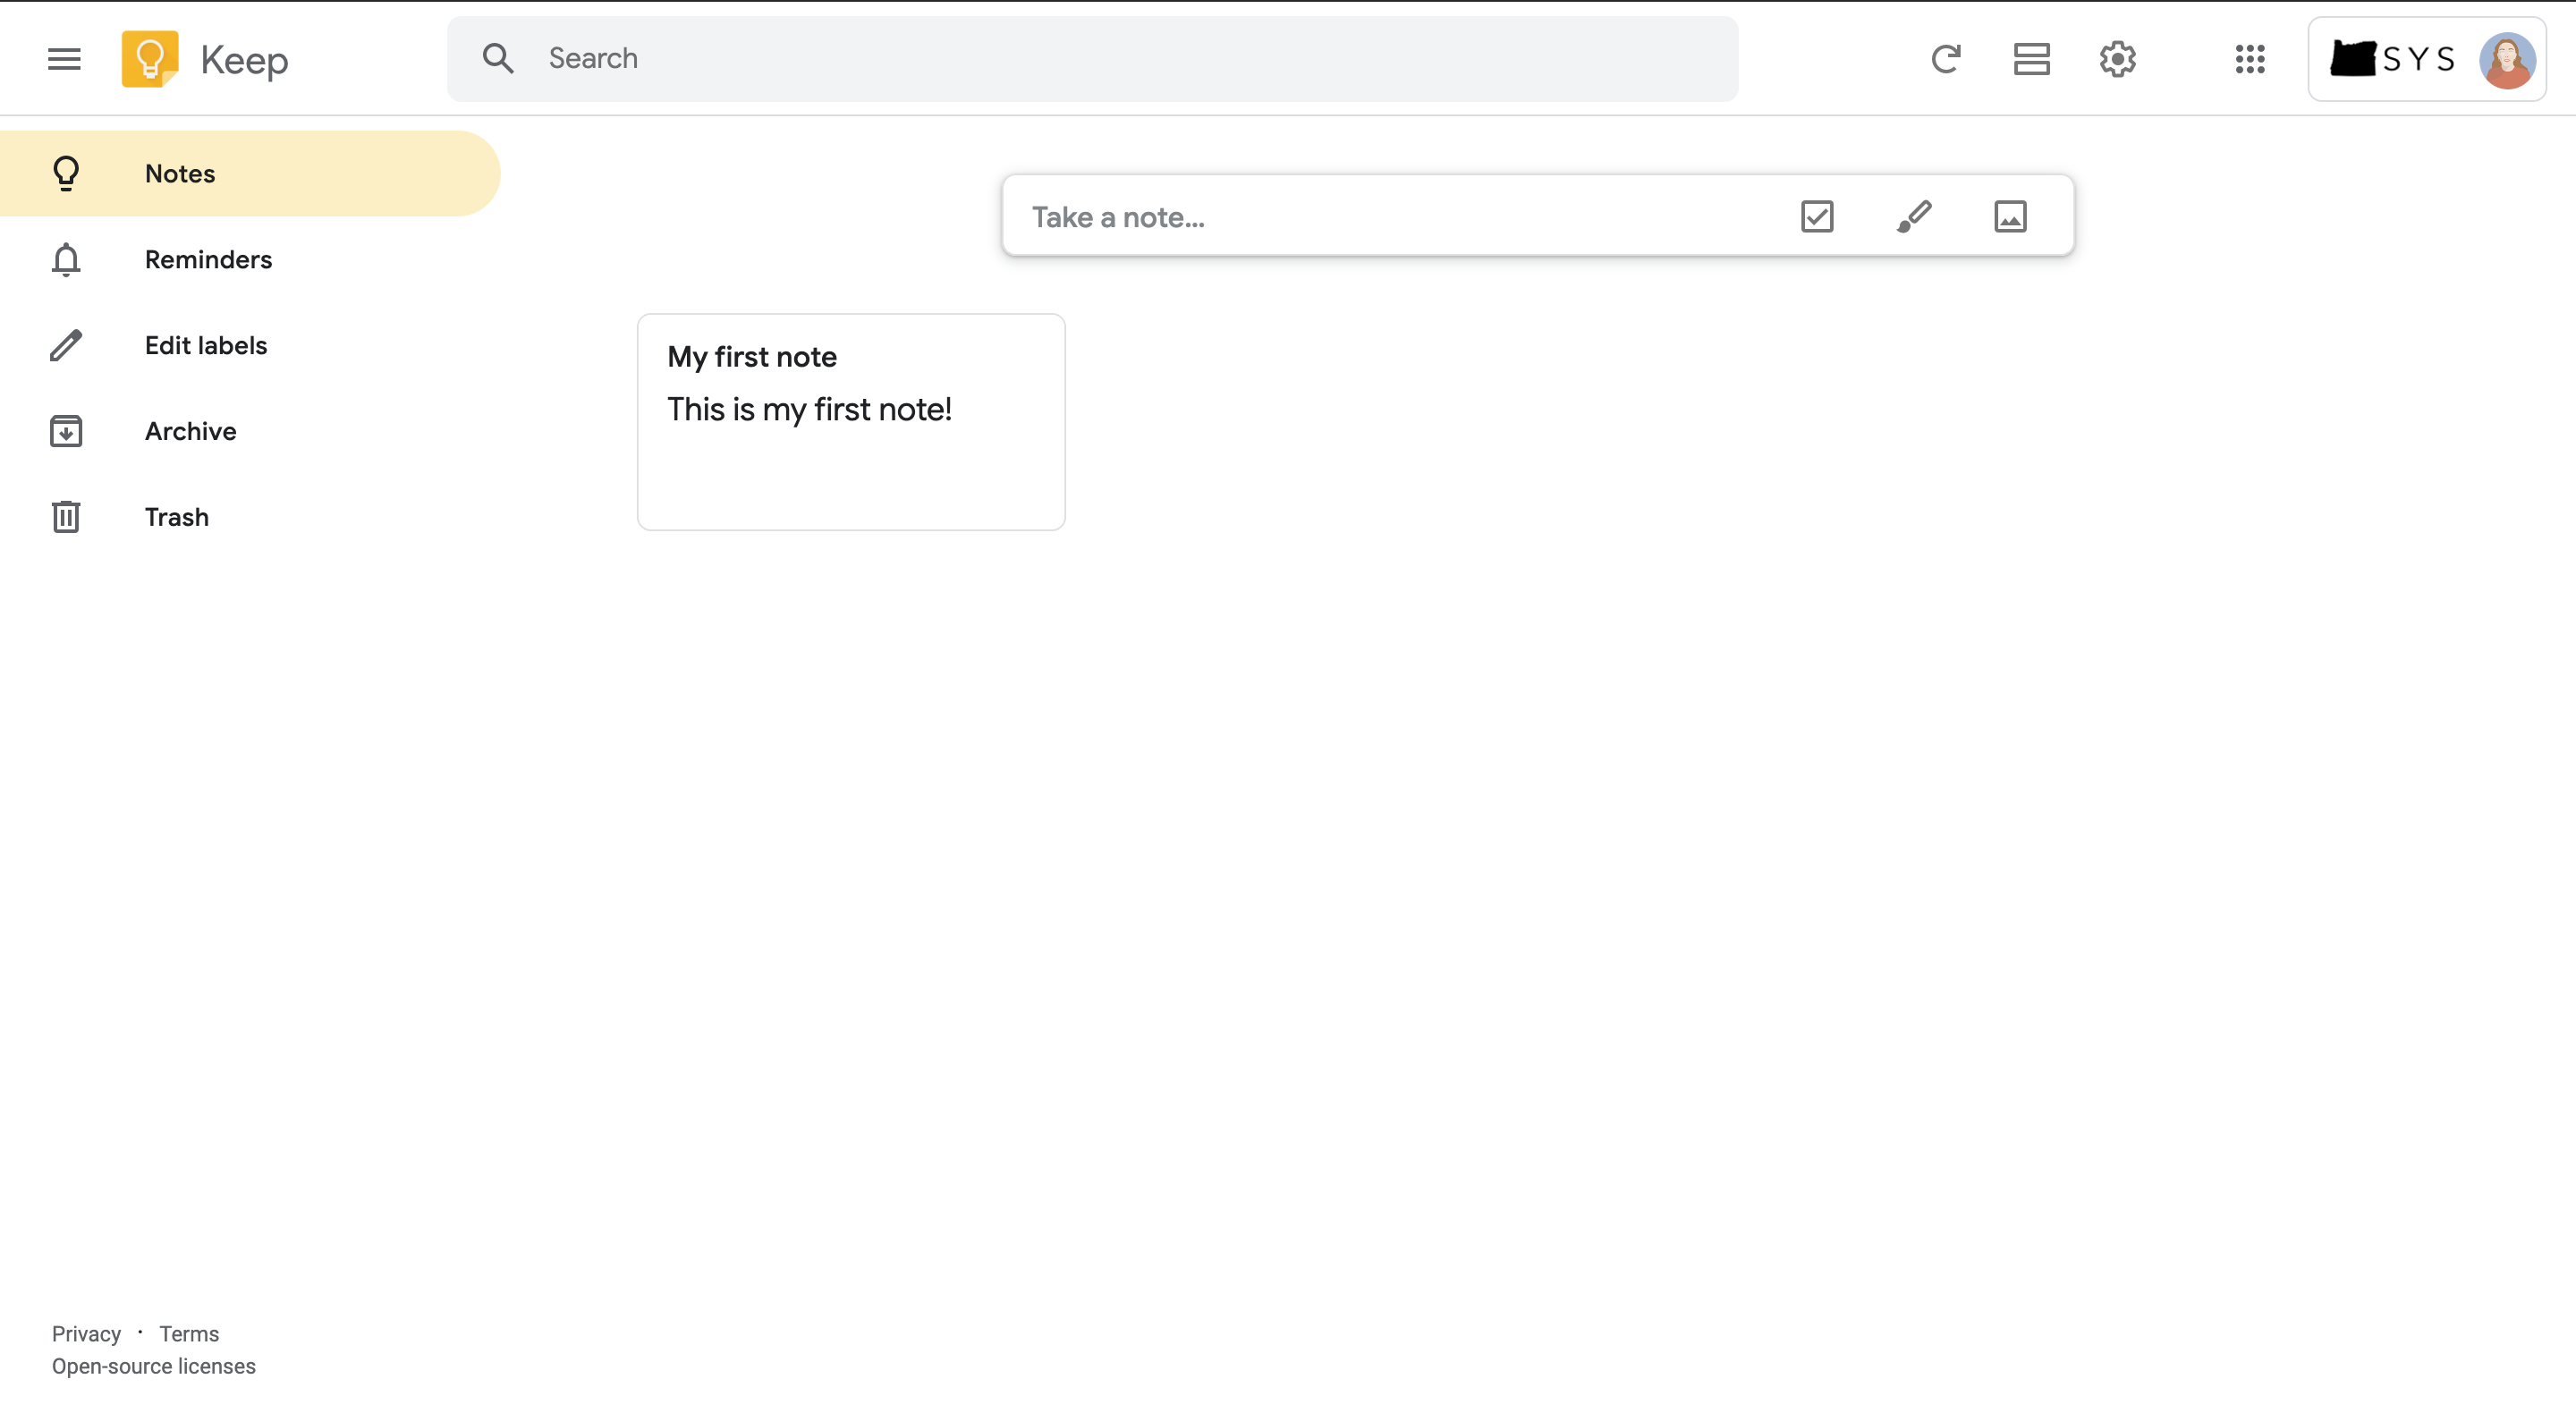
You can think of this as your virtual bulletin board—all notes you create will live here.
Customizing a note
You know how to make a basic note now, but you might want to change the formatting, labels, or color. You can do all these things retroactively, after you have created your note, or in advance, before you write anything in the note.
Making a list
You may want to use Keep to make to-do lists or other kinds of checklists. To show checkboxes on a note in Keep, hover over your note and click More  , then click Show checkboxes. Now, your note will look like this:
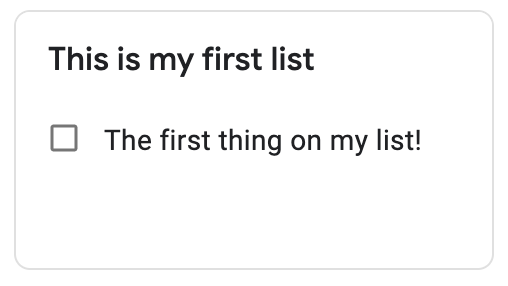
You can add more items to the list by selecting the note and clicking Add list item, or, if you are adding more than one item, you can just press enter after each item in the list, and you will move to the next item.
Changing a note’s color
You can also change the color of notes. This can be helpful in keeping your notes organized, and it can be a fun way to customize Keep. To change a note’s color, hover over the note and click on the palette icon  . A selection of colors will come up, and you can select the one you want for your note.
Adding an image to a note
You may want to add an image to one of your notes. To do it, click on the image icon  , and select the photo you want to add from your local files. The image will appear at the top of the note, like this:
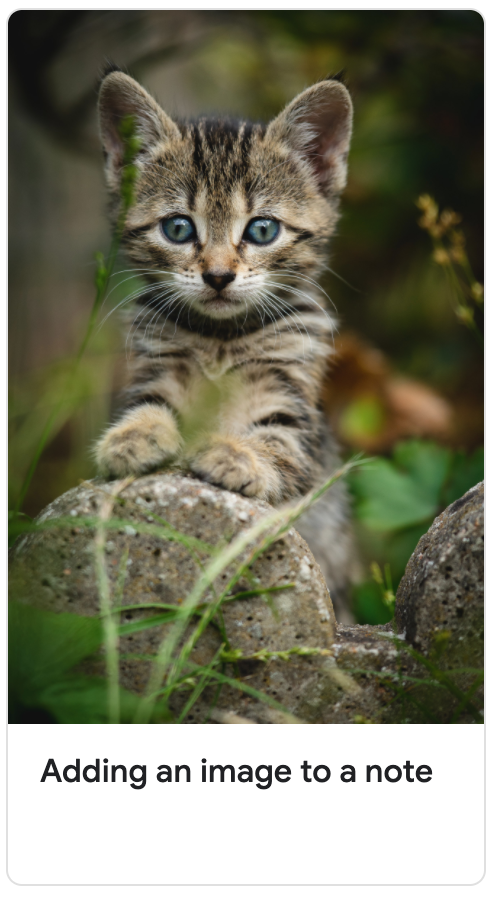
You can add more images to the note by repeating the steps above. You can also add other file types like GIFs to a note. If you want to delete an image you’ve added to a note, hover over it, and click on the trash can in the bottom right corner  .
.
Adding reminders to notes
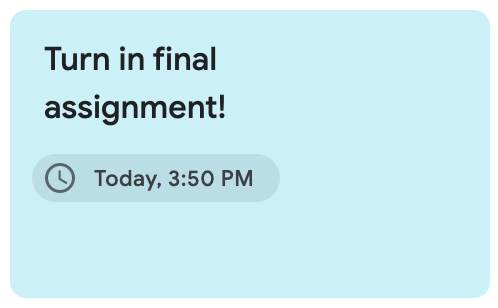
You can use Keep to keep track of the things you need to do, so it’s especially helpful that you can set a note to remind you at a certain time or place. To set a reminder, click on the reminder icon  and customize the reminder to go off when you need it to. A note with a reminder set will look like this:
To view notes with reminders, click on the reminders tab on the left.
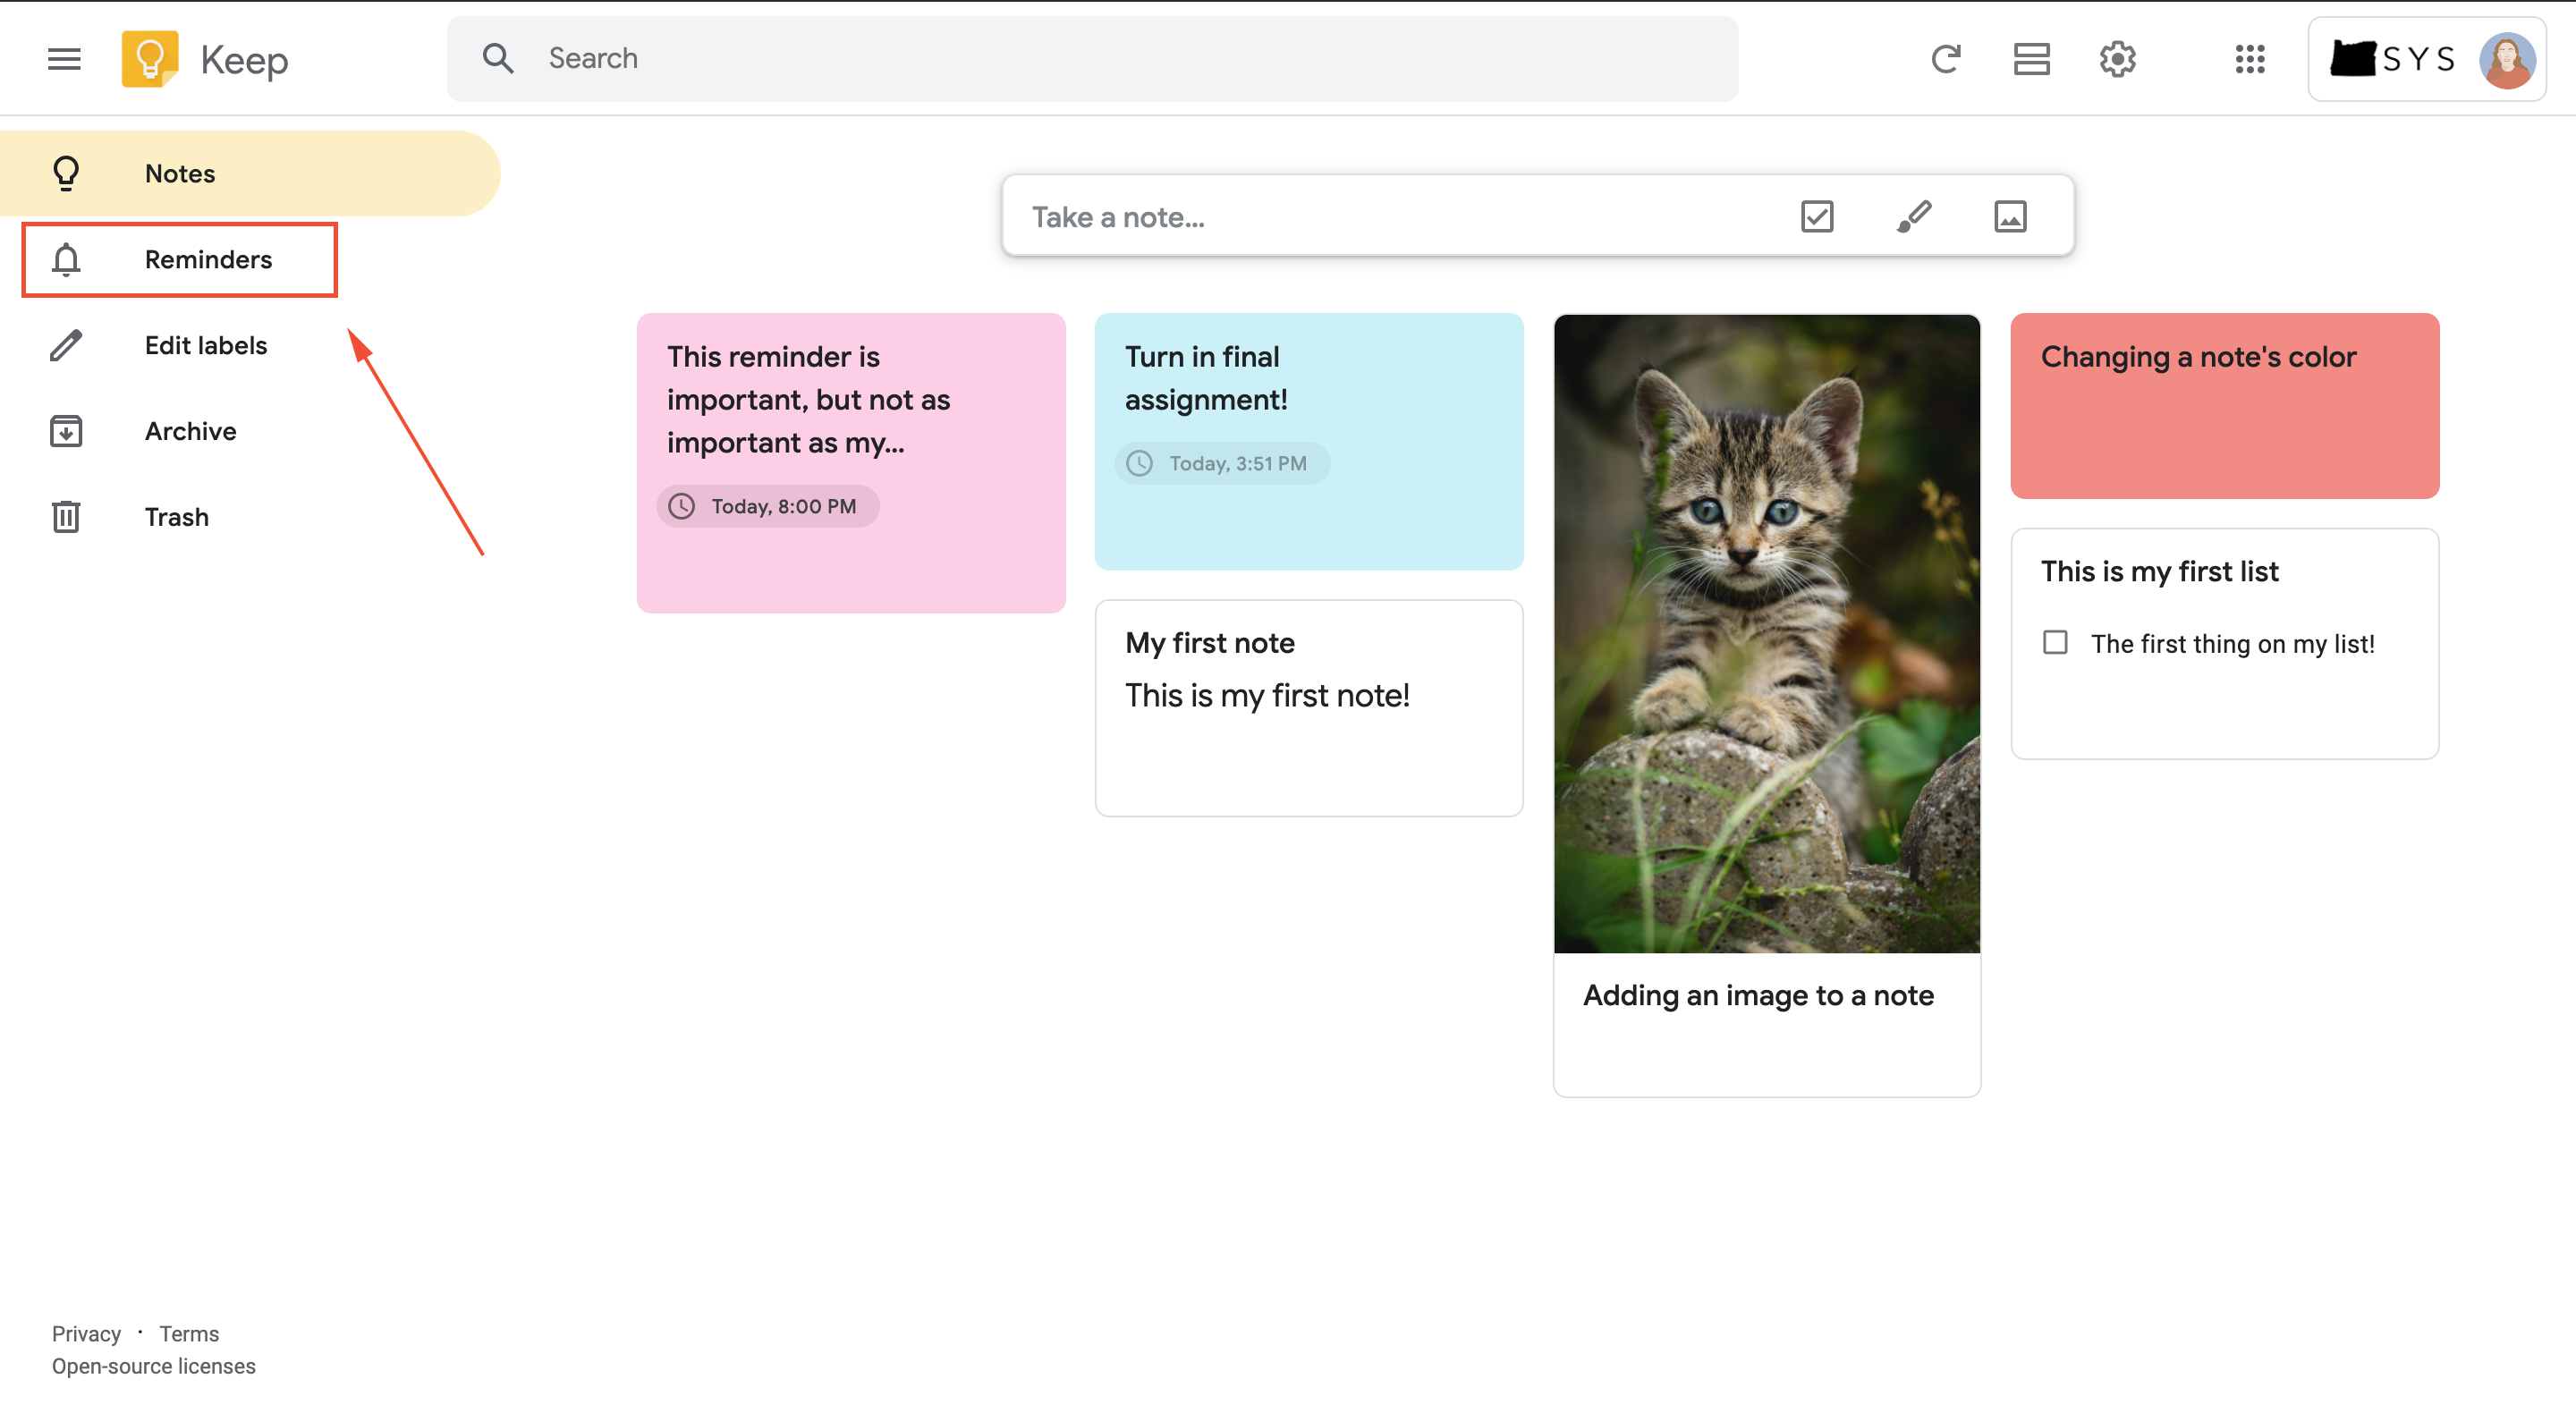
Notes with reminders that have already passed will be in the Fired section at the top, while notes with upcoming reminders will be in Upcoming. If you are using a computer, location-based reminders may not work very well—this feature was designed primarily for the mobile app. If you set reminders on your notes and you are logged into Keep on a mobile device, you will also get a push notification when your reminder is triggered. Reminders you make in Keep will also be added as reminders to your Google Calendar.
Adding a collaborator
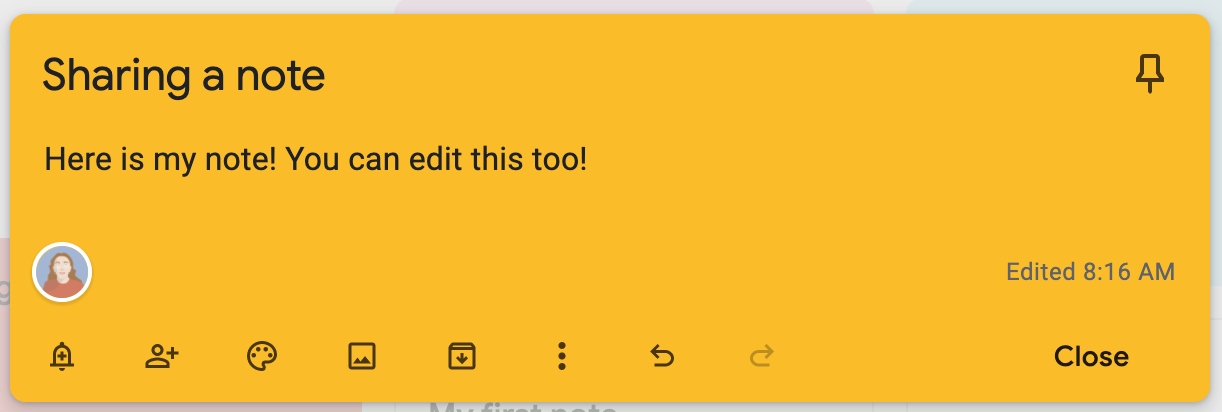
You may want other people to be able to view and edit certain notes. To get started, hover over the note and click the collaborator icon  Type the email address of the person you want to share the note with, and then click Save. You will see the avatar of the person you’ve shared with show up in the bottom left corner of the note. That person will also be able to edit the note.
Adding a drawing
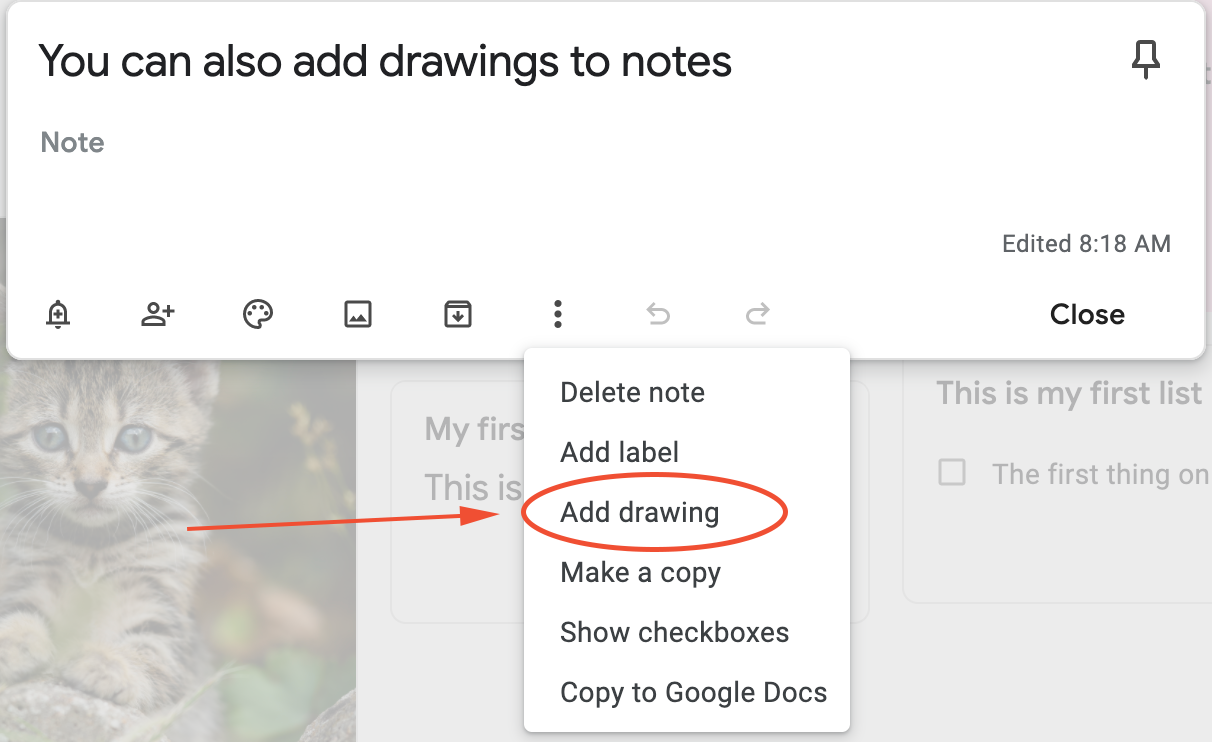
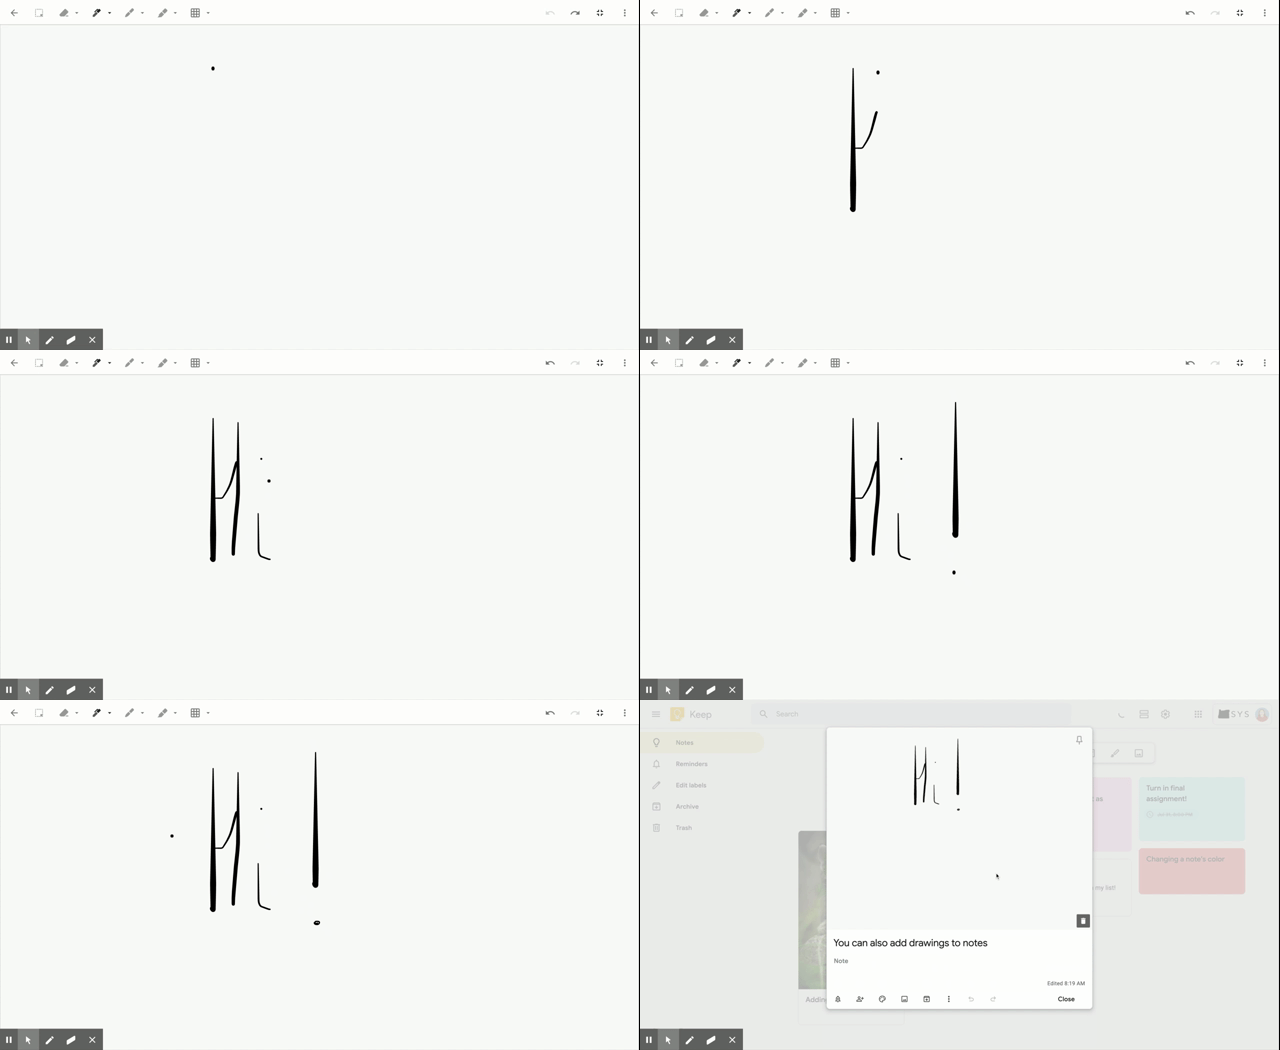
You can also add drawings to notes. To do so, click on the More icon , and then select Add drawing. A new window will appear with a blank canvas.
Draw what you want to, and when you’re done, click the arrow in the top left corner  to return to your note. The drawing will automatically appear at the top of your note. To edit the drawing or add to it, just click on the drawing and it will open again in the editor.
Organizing your notes
When you start using Keep consistently, you may notice that you have a lot of notes and would like to organize them in a certain way. Luckily, there are a few built-in functions that help you to do that.
Adding labels
To add a label to your note, click the More icon and then select Add label.
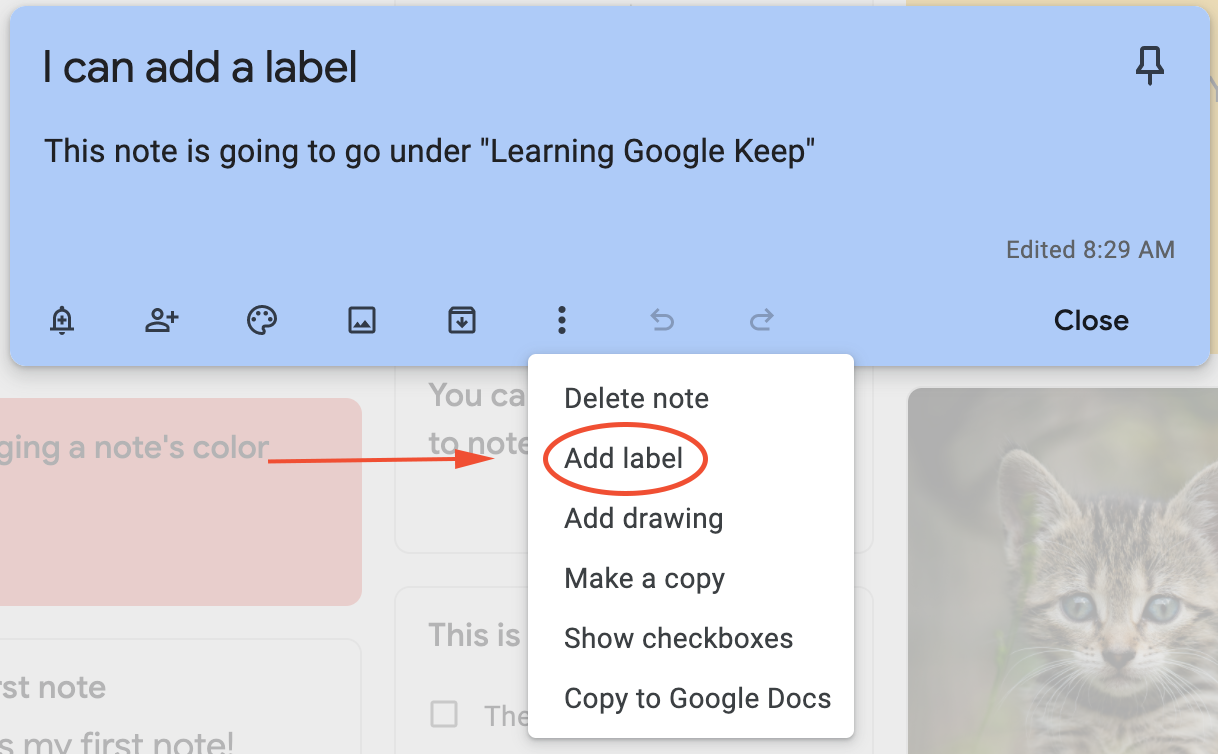
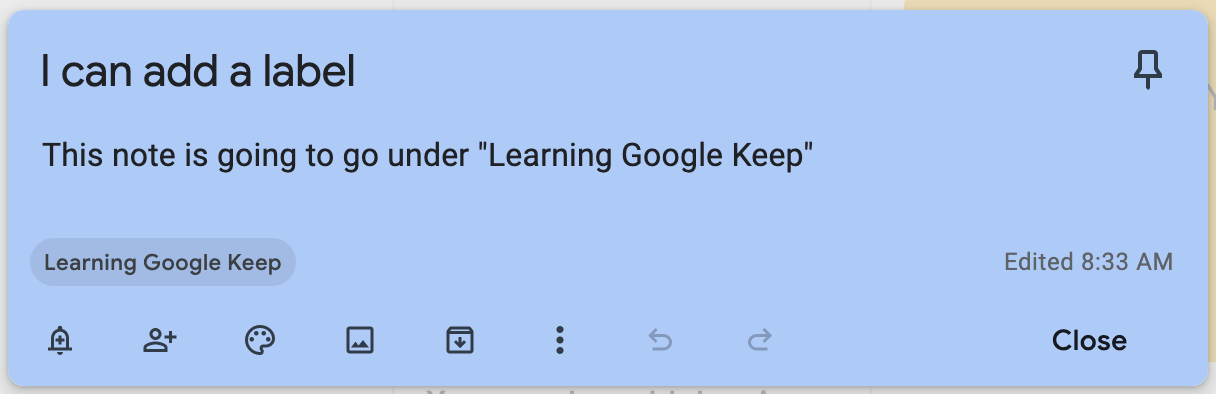
You will be prompted to enter a label name, and once you have, you should click Create to use it. You can also add labels by typing # into the note, followed by the name of the label you want to use. Once you’ve added a label to the note, it will appear at the bottom of your note in a small bubble, like this:
Once you have added some labels to your notes, you can use the search bar to look at all the notes with a certain label. Just click Search, and under Labels, select the one you want to see. Labels will also appear on the sidebar on the left, so you can click on one to see its contents.
Pinning a note
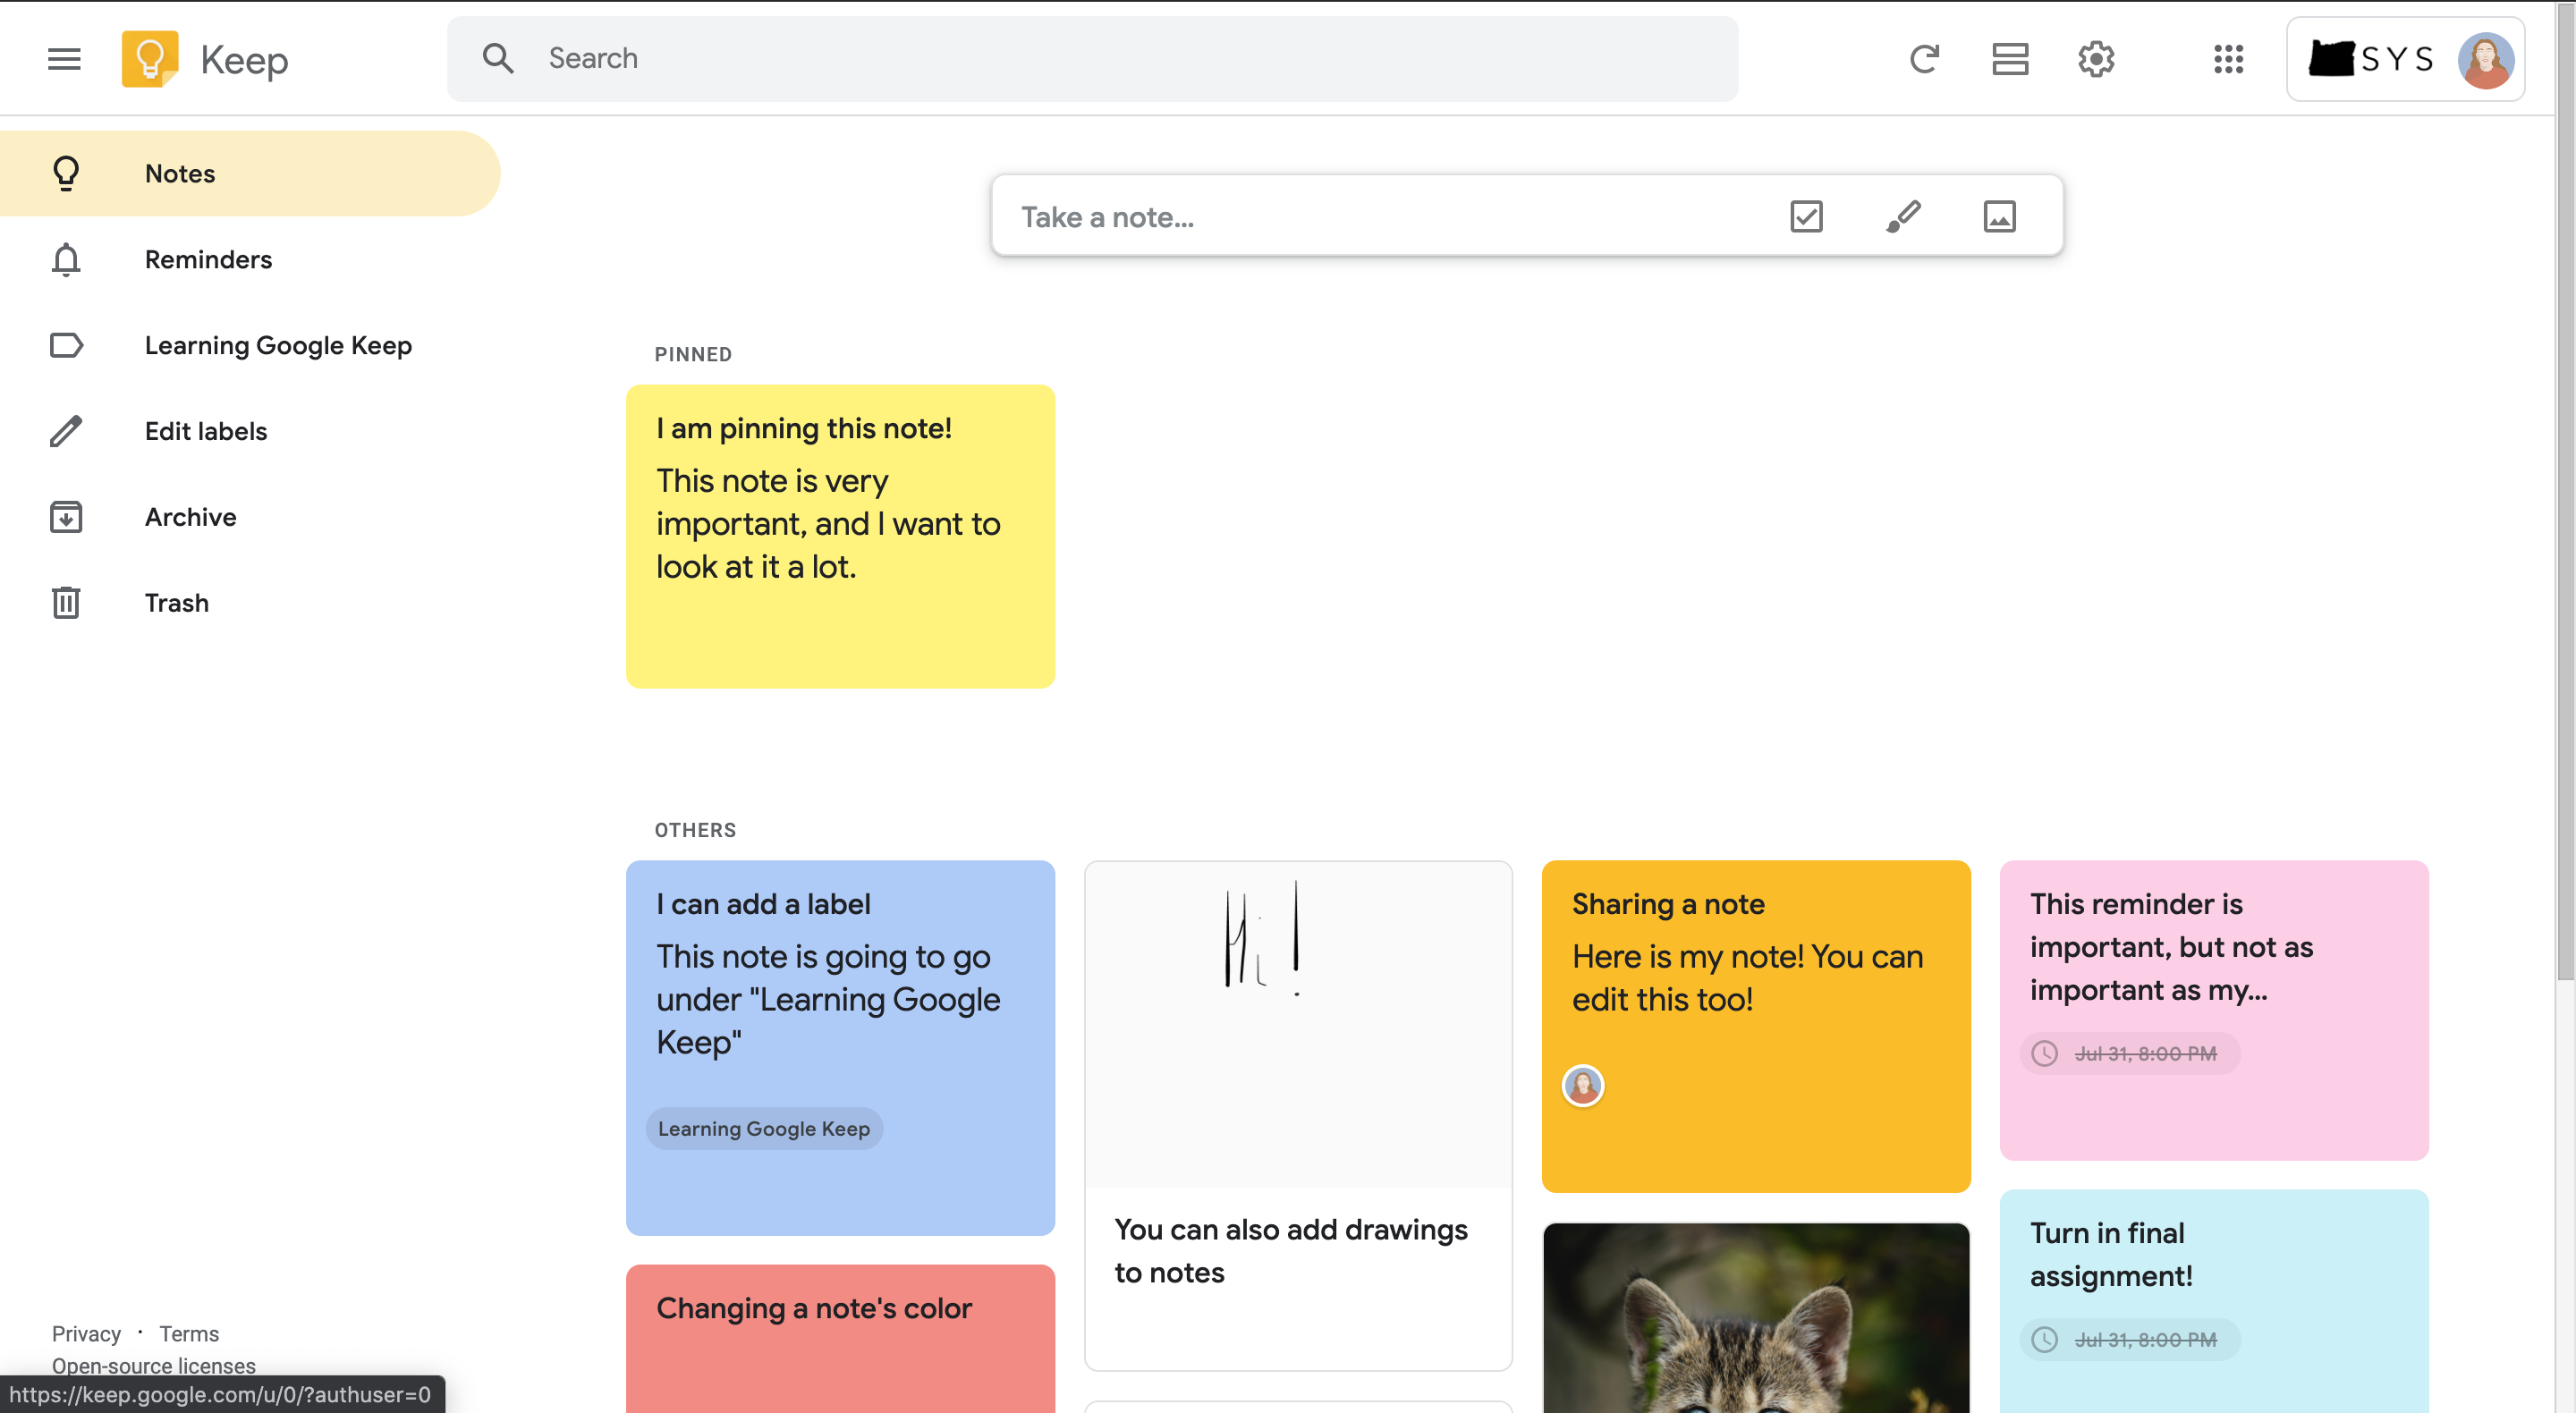
You may create a note that you will want to use and edit frequently. Usually, Google Keep organizes notes so that the oldest are at the bottom, and the newest are at the top. You can override this by pinning a note, so that it’s always at the top of your Google Keep. To pin a note, hover over it and click on the Pin icon  . Then, it will always appear at the top of Keep, in a special pinned section. You can pin as many notes as you would like to, but be careful not to pin all of them, or the section will not be useful.
Using the Google Keep integration
Google Keep integrates very well with other Google apps, like Drive, Gmail, and even Google Calendar. When you open one of these apps, you will see a small sidebar with a few icons in the top right corner of the page, like this:
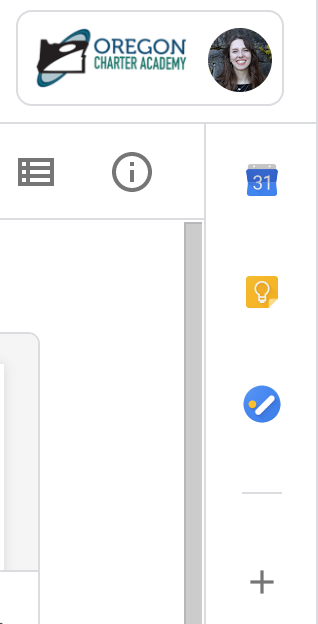
Click on the Google Keep icon (icon), and a small pane will appear with all of your notes from Keep.

From this view, you can edit your notes or make new ones, just like you would on the full site. If you ever want to see your notes in the full site, you can just click on the Open in new tab icon  and Keep will be opened in a new tab.
If you are still experiencing any issues, please refer to the following article for further support:
Comments
0 comments
Article is closed for comments.